
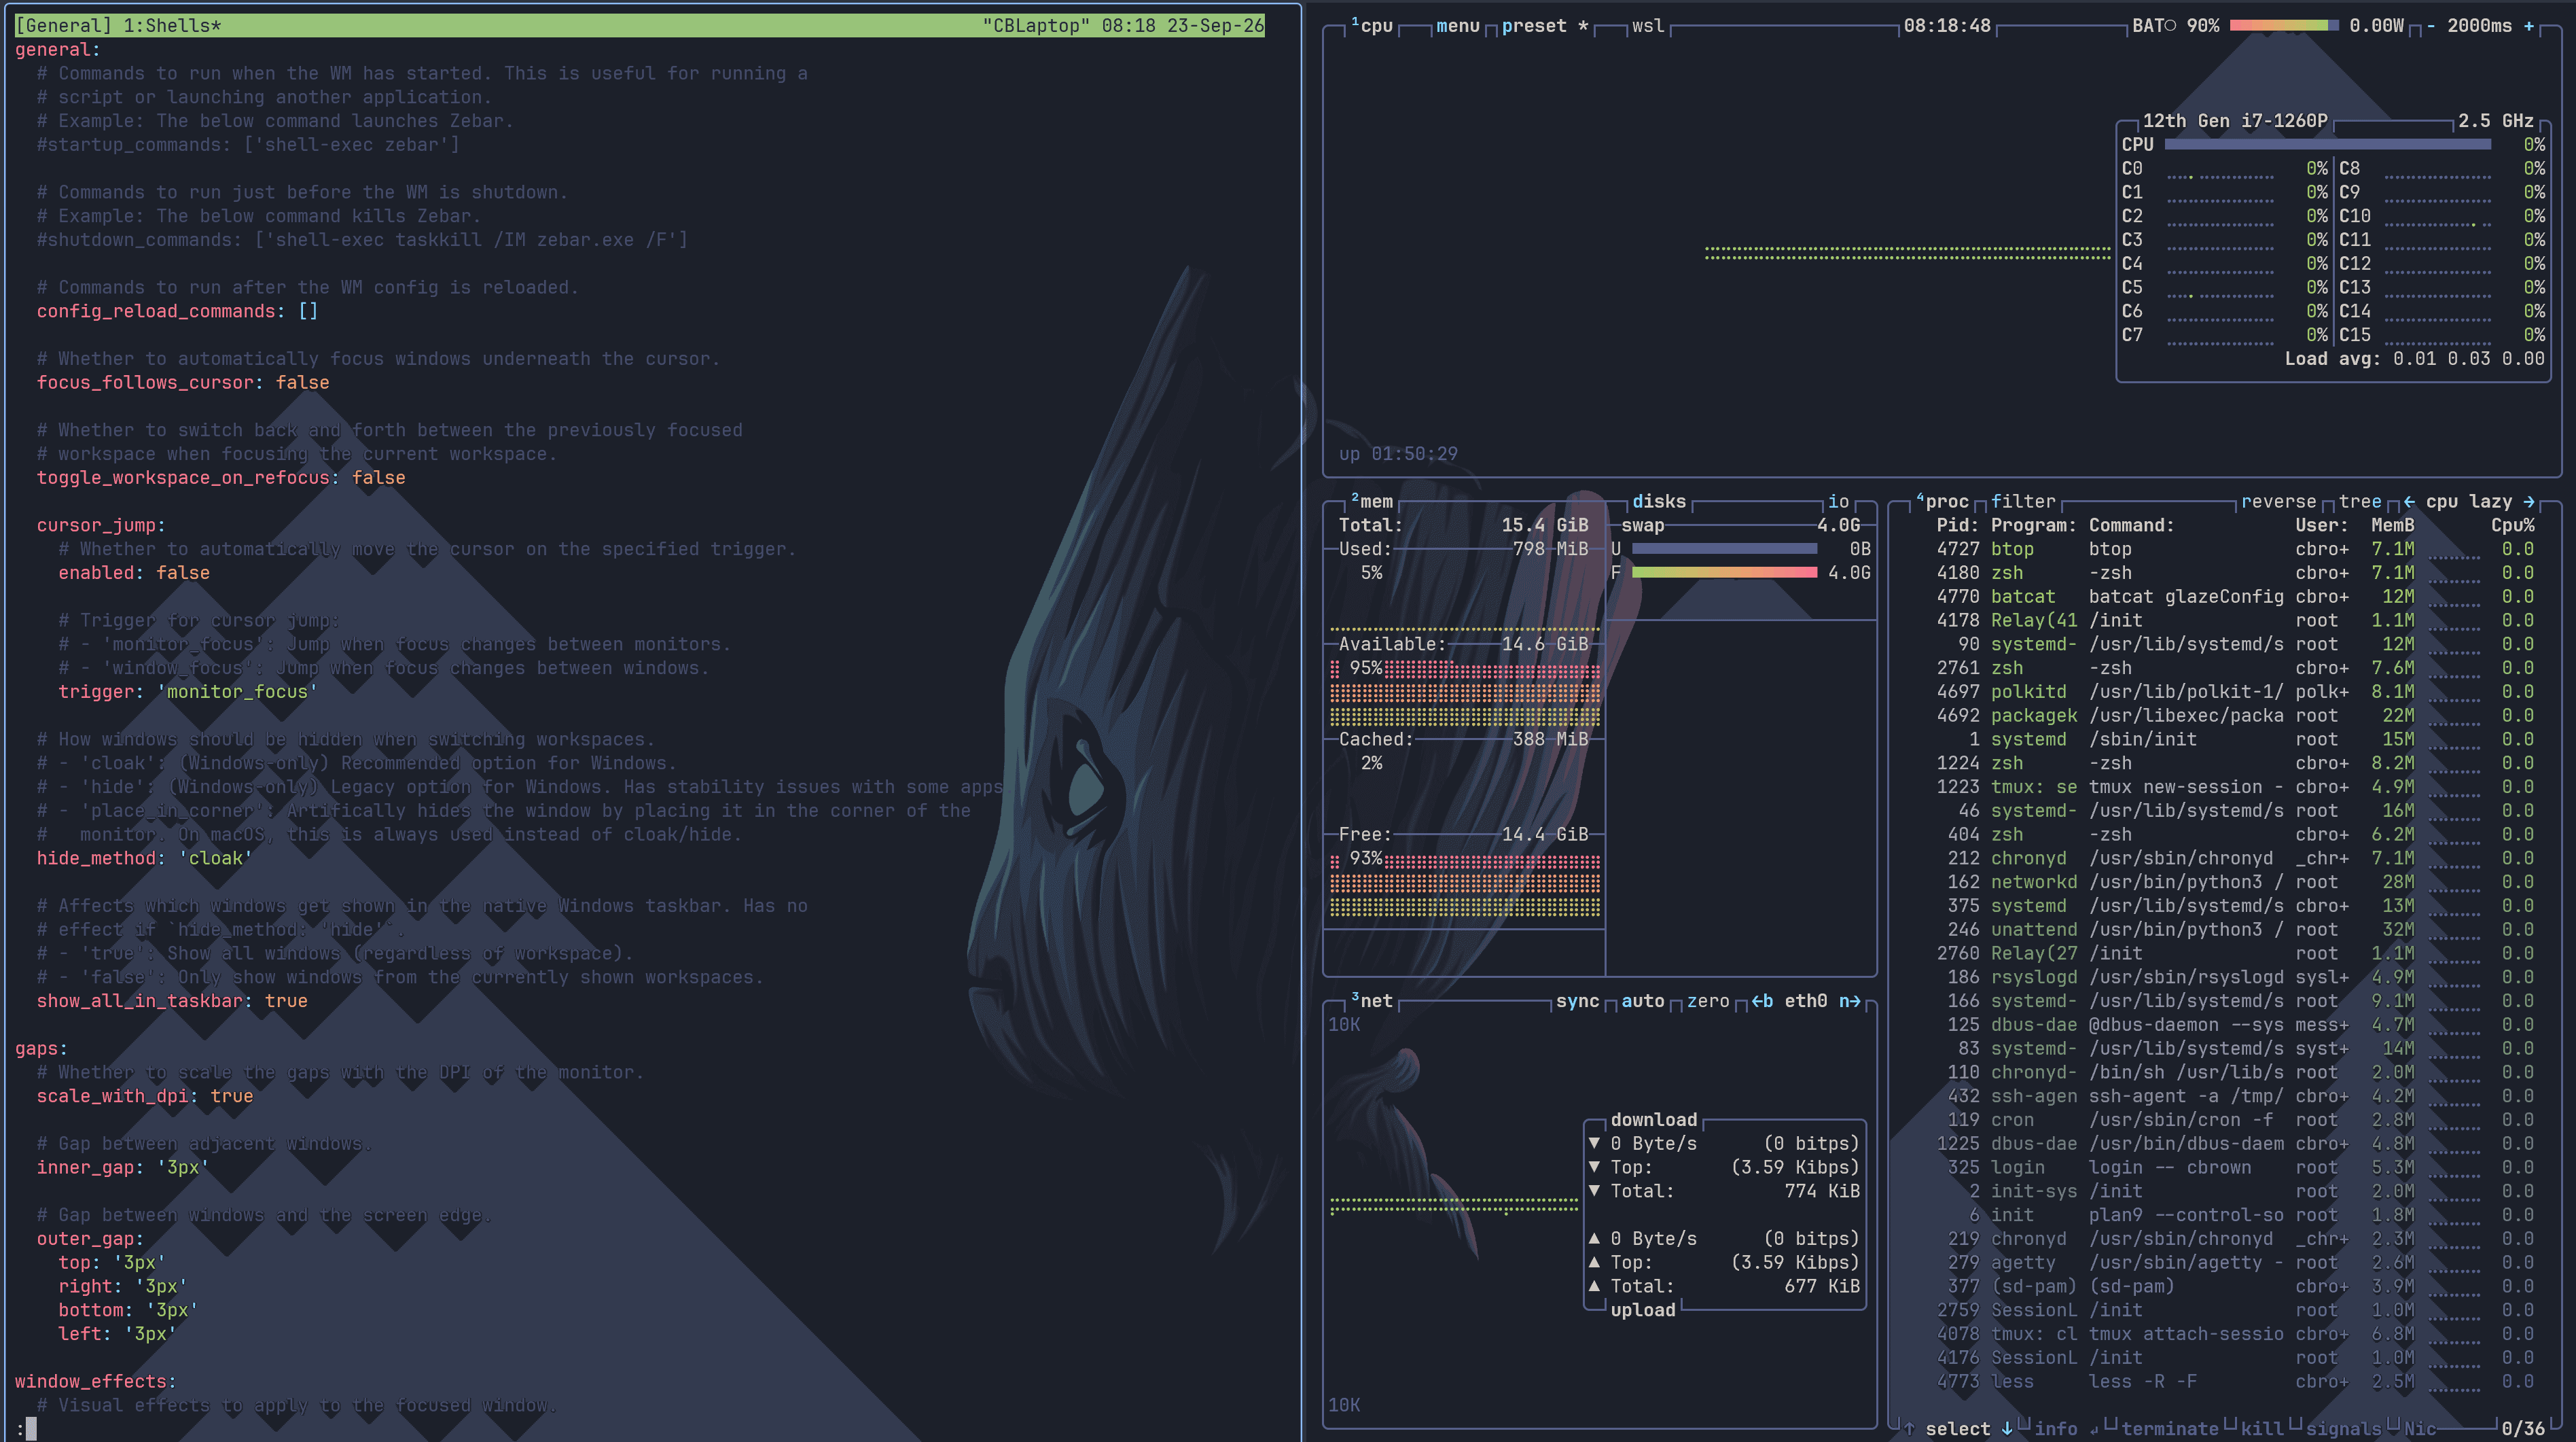
My work laptop runs Windows. My muscle memory does not.
Most of the friction is not the operating system itself. It is everything around it: hunting through overlapping windows, reaching for the mouse, and arranging the same applications in the same places every morning. On Linux, I would normally solve that with a tiling window manager and a set of predictable workspaces.
GlazeWM brings that model to Windows. It is a tiling window manager inspired by i3, configured in YAML and controlled mainly through keyboard shortcuts. It does not magically turn Windows into Linux, but it gives me the part I care about most: a predictable desktop where every application has a home and almost every window operation is one key combination away.
Coupled with Windows Subsystem for Linux (WSL), GlazeWM gives me most of my Linux workflow back. WSL provides the shell, command-line tools and Linux environment, while GlazeWM restores the keyboard-driven window and workspace management around them. Windows is still underneath it all, of course, but during a normal working day I spend much less time fighting it.
This article breaks down the configuration I currently use on my work laptop. The complete YAML file is available at the end.
The workflow I wanted
I was not trying to reproduce a particular Linux desktop pixel for pixel. I just wanted a few behaviours to stay consistent across my machines:
- new windows tile automatically;
- numbered workspaces have stable purposes;
- common applications open on the correct workspace;
H,J,KandLmove focus by direction;- adding
Shiftmoves the active window instead; - application launchers use short, memorable bindings; and
- resizing, floating and fullscreen changes do not require the mouse.
It sounds like a small change, but it removes a surprising amount of desktop housekeeping from my day. I do not need to remember where Outlook went. It lives on workspace 2.
Where the configuration lives
GlazeWM normally generates its configuration at:
%USERPROFILE%\.glzr\glazewm\config.yamlMy file lives with the rest of my dotfiles in OneDrive and is named glazeConfig.yaml. GlazeWM supports a custom location through either the --config command-line option or the GLAZEWM_CONFIG_PATH environment variable:
setx GLAZEWM_CONFIG_PATH "C:\Users\your-name\OneDrive\.dotfiles\GlazeWM\glazeConfig.yaml"The official GlazeWM configuration documentation covers both methods. Keeping the file with my dotfiles makes it versionable, recoverable and much easier to move to another machine.
General behaviour
The general section controls behaviour that applies to the whole window manager:
general:
  config_reload_commands: []
  focus_follows_cursor: false
  toggle_workspace_on_refocus: false

  cursor_jump:
    enabled: false
    trigger: "monitor_focus"

  hide_method: "cloak"
  show_all_in_taskbar: true
I deliberately keep focus separate from the mouse. It changes only when I ask it to, so brushing the pointer across another window does not suddenly send my keyboard input somewhere else.
cloak is the recommended Windows hiding method in the current sample configuration. It hides windows that belong to inactive workspaces without physically moving them to an artificial corner of the display. I keep show_all_in_taskbar enabled because the Windows taskbar is still a handy escape hatch when an application behaves strangely.
I hide the taskbar by default and let it appear when I hover over it. That gives GlazeWM the full screen and makes it my primary way of moving between windows and workspaces. The taskbar is still there when I need it, but it does not take up space or compete with the window manager during normal use.
The startup and shutdown hooks are commented out. They are useful if GlazeWM also needs to launch or stop a status bar such as Zebar, but I do not need them for this setup.
Small gaps and visible focus
I use three-pixel inner and outer gaps:
gaps:
  scale_with_dpi: true
  inner_gap: "3px"
  outer_gap:
    top: "3px"
    right: "3px"
    bottom: "3px"
    left: "3px"
The gap is enough to show where one tiled window ends and another begins without wasting much screen space. DPI scaling keeps that spacing visually consistent when monitors use different scale factors.
The focused window gets a blue border and slightly rounded corners. Other windows use a grey border:
window_effects:
  focused_window:
    border:
      enabled: true
      color: "#8dbcff"
    corner_style:
      enabled: true
      style: "small_rounded"

  other_windows:
    border:
      enabled: true
      color: "#a1a1a1"
The border matters more to me than the decoration. In a keyboard-driven layout, I need to see which window will receive the next command without hunting for a subtle title-bar change. GlazeWM notes that its border and corner effects depend on Windows 11 APIs.
Tile by default, float when necessary
Every new manageable window starts tiled:
window_behavior:
  initial_state: "tiling"

  state_defaults:
    floating:
      centered: true
      shown_on_top: false
    fullscreen:
      maximized: false
      shown_on_top: false
Floating windows are centred but do not automatically sit above everything else. Fullscreen windows use GlazeWM's normal fullscreen behaviour rather than being converted to maximized windows. These defaults keep the layout predictable while still allowing an individual window to be floated with a shortcut.
Workspaces are named by purpose
The workspace number is the keyboard address; display_name records what belongs there.
| Key | Workspace | Monitor |
|---|---|---|
1 |
Shells | 0 |
2 |
0 | |
3 |
Browser | 0 |
4 |
IDEs | 0 |
5 |
Misc | 0 |
6 |
SQL Clients | 0 |
7 |
Office | 0 |
8 |
Remote Desktops | 0 |
9 |
Password Managers | 0 |
0 |
Teams | 1 |
This is probably the biggest improvement to my daily workflow. Each number means a type of work rather than an arbitrary desktop. Terminals are always on 1, the browser is always on 3, and Teams stays out of the way on the second monitor.
bind_to_monitor uses GlazeWM's monitor index, so those values may need changing on another laptop or dock. Monitor numbering is an environment detail, not a universal primary-versus-secondary guarantee.
Ignore windows that should not tile
Not every window in Windows is really an application window. Office dialog boxes, PowerToys overlays, picture-in-picture players and remote-desktop surfaces can all behave badly when a tiling manager tries to take charge of them.
The first set of window_rules tells GlazeWM to ignore those cases:
- commands: ["ignore"]
  match:
    - window_process: { equals: "zebar" }
    - window_title: { regex: "[Pp]icture.in.[Pp]icture" }
      window_class: { regex: "Chrome_WidgetWin_1|MozillaDialogClass" }
    - window_process: { equals: "EXCEL" }
      window_class: { not_regex: "XLMAIN" }
    - window_process: { equals: "WINWORD" }
      window_class: { not_regex: "OpusApp" }
    - window_process: { equals: "msrdc" }
The Office rules are deliberately more precise than matching only the process name. The main Excel window uses XLMAIN, for example, so child windows with another class are ignored while the workbook itself can still tile.
GlazeWM rules can match the process, class and title. When several matchers appear in one item, they all describe the same target window. The project's current sample configuration contains many of the same defensive rules.
Send applications to their workspace
The next rules turn workspace naming into actual behaviour:
- commands: ["set-tiling", "move --workspace 1"]
  match:
    - window_process: { equals: "WindowsTerminal" }

- commands: ["set-tiling", "move --workspace 3"]
  match:
    - window_process: { equals: "firefox" }

- commands: ["set-tiling", "move --workspace 4"]
  match:
    - window_process: { equals: "Code" }

- commands: ["set-tiling", "move --workspace 6"]
  match:
    - window_process: { equals: "dbeaver" }
Equivalent rules route Outlook to 2, Word and Excel to 7, Bitwarden and Keeper to 9, and Teams to 0. set-tiling makes the intended state explicit before the window moves.
This is one of those slightly awkward Windows details: process names depend on the application you have installed. The newer Outlook client appears here as olk, while Teams uses ms-teams. If a rule stops working after an application update, the process name and window class are the first things I check.
Linux-shaped movement keys
The core bindings use the left Windows key as a Super key and follow Vim's directional keys:
| Action | Shortcut |
|---|---|
| Focus left/down/up/right | Win+Alt+H/J/K/L |
| Move window left/down/up/right | Win+Shift+H/J/K/L |
| Resize by direction | Win+Ctrl+H/J/K/L |
| Toggle tiling | Win+T |
| Toggle floating | Win+S |
| Toggle fullscreen | Win+F |
| Change split direction | Win+M |
| Minimize or restore | Win+X |
| Close window | Win+W |
That layout transfers cleanly from Vim, i3 and similar Linux tools. The same direction keys mean focus, movement and resizing differ only by the modifier: Alt focuses, Shift moves and Ctrl resizes.
There is, inevitably, a Windows-shaped catch: Microsoft reserves several Windows-key combinations. GlazeWM's documentation recommends Alt for this reason and calls out Win+L in particular. The Windows key gives me the Super-key feel I want, but some bindings may conflict with Windows or an organisation's policies. If that happens, changing lwin to alt is the simplest fallback.
Focus and move by workspace number
Workspace navigation follows the usual tiling-window-manager pattern:
- commands: ["focus --workspace 4"]
  bindings: ["lwin+4"]

- commands: ["move --workspace 4", "focus --workspace 4"]
  bindings: ["lwin+shift+4"]
Win+4 focuses the IDE workspace. Win+Shift+4 moves the current window there and follows it. The full configuration repeats that pair for workspaces 0 through 9.
The two-command move binding is a small detail that makes a big difference. Moving a window without following it is useful occasionally, but most of the time I move it because I want to carry on working with it in the destination workspace.
Launch applications without searching the Start menu
The remaining shortcuts act as a compact application launcher:
| Shortcut | Application or action |
|---|---|
Win+Enter |
Windows Terminal |
Win+Shift+E |
Outlook |
Win+B |
Firefox |
Win+E |
Visual Studio Code |
Win+D |
DBeaver |
Win+R |
Remmina |
Win+Shift+F |
File Explorer |
Win+O |
Lock the workstation |
Win+Ctrl+Shift+8 |
Generate a password without special characters |
Win+Ctrl+Shift+9 |
Generate a password with special characters |
Win+Escape |
Reload the GlazeWM configuration |
Win+Alt+Q |
Exit GlazeWM |
Several of these replace standard Windows shortcuts, and I am fine with that. I would rather have a consistent personal workflow than preserve every Windows default.
The resize mode is currently dormant
I should be honest about this part: the file defines a resize binding mode, but I am not currently using it. Inside the mode, bare H, J, K, L or arrow keys resize the focused window. The normal keybindings do not include wm-enable-binding-mode --name resize, though, and the exit binding inside the mode is commented out.
For now, it is a useful starting point rather than an active part of my setup. To enable it, add an entry key to the main keybindings list and restore the Escape/Enter exit binding:
binding_modes:
  - name: "resize"
    keybindings:
      # Existing resize commands...
      - commands: ["wm-disable-binding-mode --name resize"]
        bindings: ["escape", "enter"]

keybindings:
  - commands: ["wm-enable-binding-mode --name resize"]
    bindings: ["lwin+alt+space"]
Binding modes are useful when a group of operations deserves simple keys temporarily but not globally.
Generate passwords with Bitwarden
Two shortcuts use the Bitwarden CLI to generate a 25-character password and copy it directly to the clipboard:
Win+Ctrl+Shift+8generates a password without special characters.Win+Ctrl+Shift+9generates a password with special characters.
Including Ctrl keeps these bindings separate from Win+Shift+8/9, which move the current window to the corresponding workspace and follow it.
There is one machine-specific wrinkle here. The password commands contain an absolute path under C:\Users\ChrisBrown, so they are tied to this laptop and its WinGet installation. If you use the configuration, replace that hard-coded path first. Better still, put bw.exe on PATH and let the bindings call bw directly.
Reload, test and adjust
Once I have edited the file, I use Win+Escape to run wm-reload-config. I then do a quick check of four things:
- GlazeWM reloads without reporting a YAML or configuration error.
Win+numberreaches every workspace on the expected monitor.- launching each routed application sends its main window to the correct workspace;
- dialogs and remote-desktop windows excluded by the ignore rules still behave normally.
I have learned to make one kind of change at a time. Window rules are much easier to debug when workspace routing, ignore rules and shortcuts are not all changing in the same reload.
Download the complete configuration
This is the complete configuration discussed above, including its machine-specific commands. The downloadable copy adds a short setup guide and expands a few comments, but it does not change the working settings:
Treat it as a worked example rather than something you can drop onto any machine unchanged. Check the monitor bindings, executable names and Bitwarden path first, then make it your own.