Before you begin: changing a host name affects the operating system and several parts of the WebSphere configuration. Plan an outage, back up the configuration and confirm that you can restore it. The profile paths, cell names, node names and port in this article are examples; replace them with the values from your environment.
This procedure updates a WebSphere deployment after its server has been renamed. It was originally tested with WebSphere 9.0 on Ubuntu Server 16, using a Deployment Manager and one federated application-server node.
The examples use OldName for the current host name and NewName for the replacement. Include the domain in NewName if your WebSphere configuration uses a fully qualified host name.
Check the deployment before the rename
Start every WebSphere node and server, then sign in to the Deployment Manager administrative console. Resolve any existing startup, synchronisation or login problems before changing the host name; otherwise, it will be difficult to tell whether a later failure was caused by the rename.
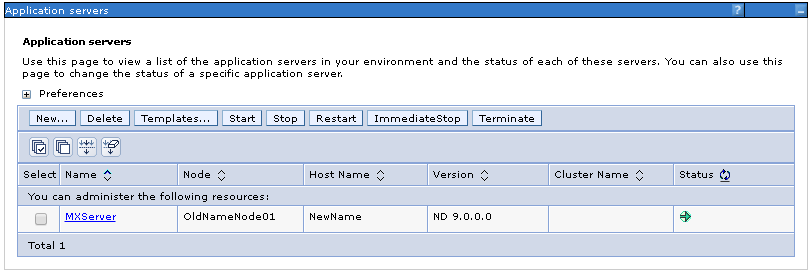
Confirm that the console and applications currently use OldName.
Rename the server and stop WebSphere
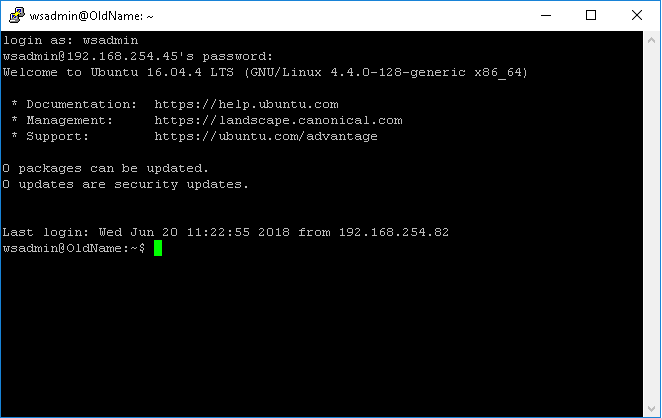
Change the operating-system host name from OldName to NewName, then restart the server. The exact operating-system procedure is outside the scope of this article.
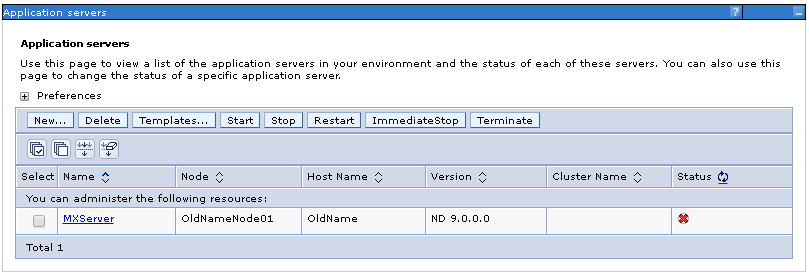
Before the rename:
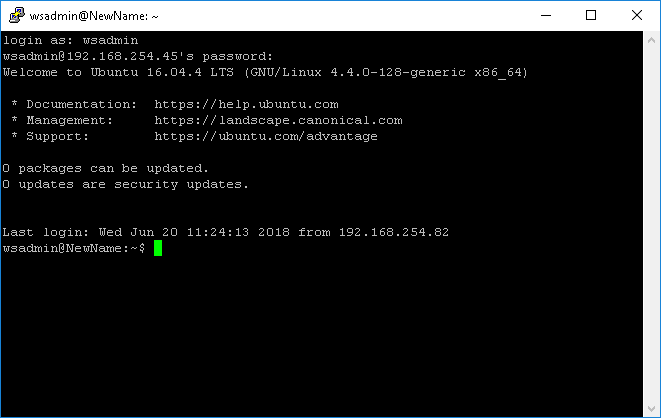
After the rename:
Some WebSphere processes may start with only part of the old configuration after the restart. Stop the Deployment Manager from its profile:
cd /opt/IBM/WebSphere/AppServer/profiles/DeploymentMGR/bin
sudo ./stopManager.sh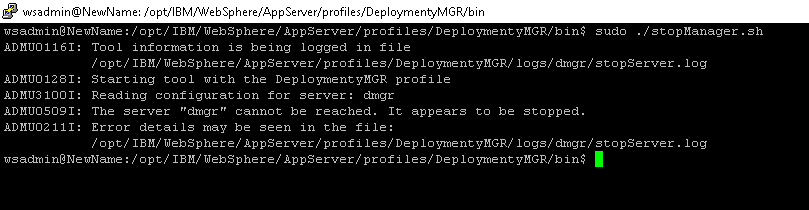
Stop the node for each application-server profile:
cd /opt/IBM/WebSphere/AppServer/profiles/Application01/bin
sudo ./stopNode.sh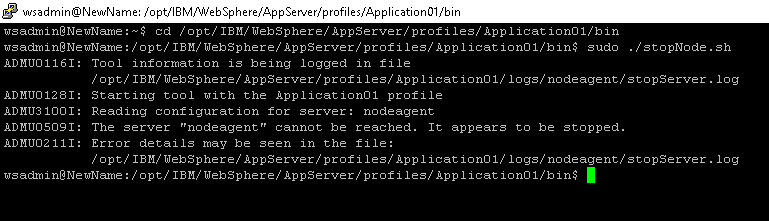
Update the server indexes with wsadmin
Start wsadmin in offline Jython mode:
cd /opt/IBM/WebSphere/AppServer/bin
sudo ./wsadmin.sh -connType NONE -lang jython
List the server-index configuration objects:
AdminConfig.list('ServerIndex')
The result will resemble this output:
Deployment Manager - '(cells/OldNameCell01/nodes/OldNameCellManager01|serverindex.xml#ServerIndex_1)'
Application Server - '(cells/OldNameCell01/nodes/OldNameNode01|serverindex.xml#ServerIndex_1)'
Copy the exact configuration paths returned by your environment. Use them to change the Deployment Manager and application-server host names:
AdminConfig.modify('(cells/OldNameCell01/nodes/OldNameCellManager01|serverindex.xml#ServerIndex_1)', '[[hostName NewName]]')
AdminConfig.modify('(cells/OldNameCell01/nodes/OldNameNode01|serverindex.xml#ServerIndex_1)', '[[hostName NewName]]')
The Deployment Manager change:

The application-server change:

Save the changes and leave wsadmin:
AdminConfig.save()
exit
Update the host names in the console
Start the Deployment Manager:
cd /opt/IBM/WebSphere/AppServer/profiles/DeploymentMGR/bin
sudo ./startManager.sh
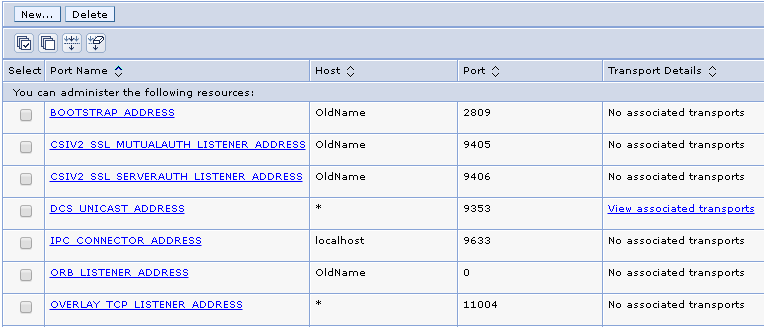
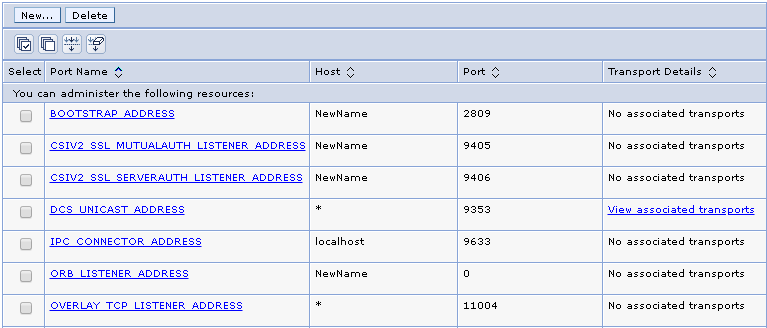
Sign in to the administrative console using the new host name. Open the Ports settings for each of these components and replace every remaining reference to OldName with NewName:
Before updating the port host names:
After updating the port host names:
- Deployment Manager
- Application server
- Node agent
Save the configuration after making the changes.
Synchronise and start the node
Synchronise the application-server node with the Deployment Manager. The example uses 8879; substitute the Deployment Manager SOAP connector port from your configuration if it differs.
cd /opt/IBM/WebSphere/AppServer/profiles/Application01/bin
sudo ./syncNode.sh NewName 8879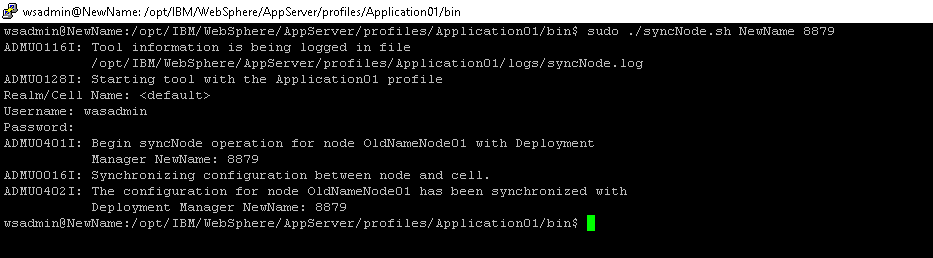
Start the node:
cd /opt/IBM/WebSphere/AppServer/profiles/Application01/bin
sudo ./startNode.sh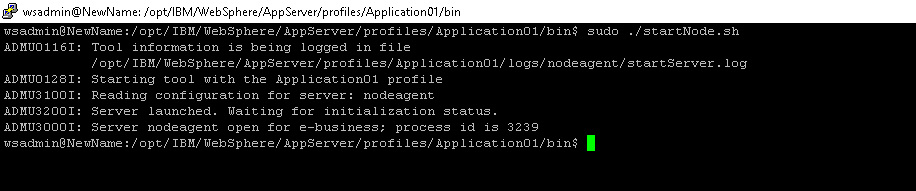
Finally, sign in to the administrative console using NewName. Confirm that the node is synchronised, the expected servers and applications start, and the console no longer shows references to OldName.