
This is the legacy Eclipse setup I used for Java customizations against Maximo 7.6. It gives the IDE the correct Java compiler level and enough of Maximo's classes to resolve MBO and web client APIs while you write code.
The setup uses Eclipse IDE 2018-09 and Java 8 throughout. It is retained for maintaining traditional Maximo 7.6 customizations rather than as a guide for starting a new Java project. Choose the right Java version for Maximo custom code covers the other legacy Maximo version boundaries.
Keep the reference files tied to one exact Maximo installation and fix-pack level. Do not use a library assembled from one environment to compile code for another without confirming that their APIs match.
Install Eclipse
Download Eclipse IDE for Java EE Developers 2018-09 from the Eclipse 2018-09 package archive, then extract the ZIP to the workstation. Install to:
C:\Program Files\Eclipse IDE 2018-09
Add the WebSphere Java SDK
Copy the Java 8 SDK used by the Maximo WebSphere environment from this server directory:
<INSTALL_ROOT>\IBM\WebSphere\AppServer\javaThe original setup copied it to:
C:\Program Files\IBM\javaThis gives Eclipse the same IBM Java implementation used by WebSphere. Obtain the files through your organisation's approved software process and keep this workstation copy aligned with the target environment.
Start Eclipse, choose a workspace, then open Window > Preferences > Java > Installed JREs.
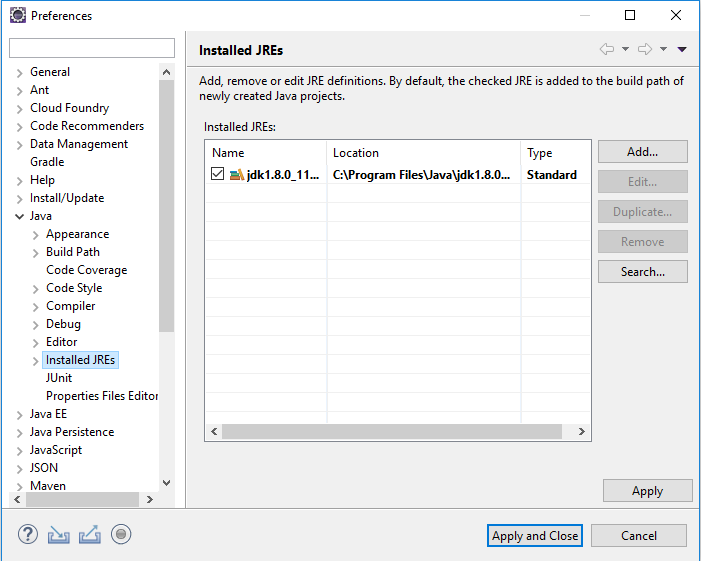
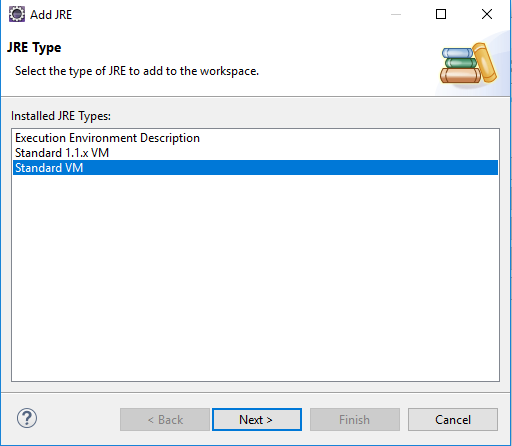
Select Add, choose Standard VM, and continue.
Set JRE home to C:\Program Files\IBM\java and give it a clear name such as IBM Java 8 - Maximo 7.6.
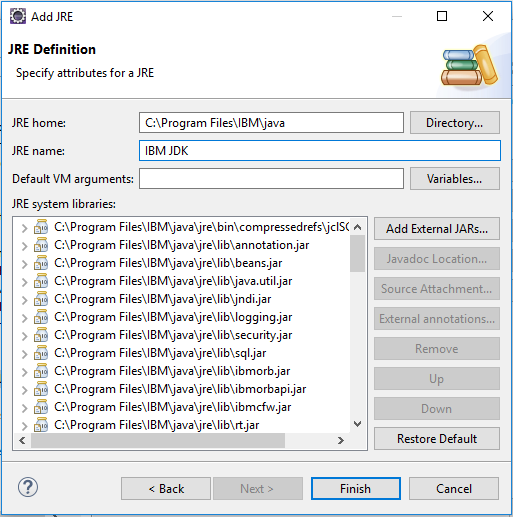
Select the IBM Java 8 entry as the workspace default. The original single-purpose workspace removed the previous default JRE so all Maximo projects used the WebSphere Java SDK.
Set the compiler compliance level
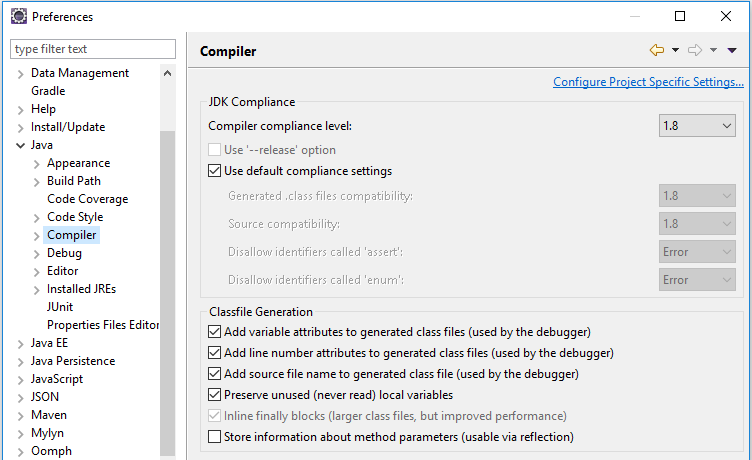
Open Window > Preferences > Java > Compiler, select compliance level 1.8, and leave Use default compliance settings enabled.
Build a private Maximo reference library
Maximo's build tree contains compiled classes that are not all packaged into one convenient development JAR. This procedure combines the business object and web client class trees into maximoLib.jar.
Run this on the Maximo administrative workstation for the target environment. Make sure the JDK bin directory is on PATH and confirm that the jar command runs before continuing:
jarCreate a private output directory, then move to the business object classes directory:
mkdir C:\temp
cd C:\IBM\SMP\maximo\applications\maximo\businessobjects\classes
Create the JAR from the com and psdi package trees:
jar -cf C:\temp\maximoLib.jar com psdiMove to the web client classes directory:
cd C:\IBM\SMP\maximo\applications\maximo\maximouiweb\webmodule\WEB-INF\classesAdd its com, ilog and psdi package trees to the same JAR:
jar -uf C:\temp\maximoLib.jar com ilog psdiSubstitute the real SMP path on your administrative workstation. A different customization might also require one of Maximo's shipped JARs; add only the compile-time dependencies your project actually uses.
Keep maximoLib.jar private. It contains IBM implementation classes, is specific to the source environment and is for the Eclipse build path only. Do not package it with your customization or deploy it back into Maximo.
Create the Eclipse project
Create a Java project using the IBM Java 8 JRE. Then:
- Open Project > Properties > Java Build Path > Libraries.
- Add
maximoLib.jaras an external JAR. - Add any other required Maximo or third-party libraries from the same target installation.
- Keep your own Java source in a separate source directory and version-control it.
- Confirm the project produces Java 8 class files before deployment.
Install the Enhanced Class Decompiler
A decompiler is optional, but it lets this legacy workspace inspect Maximo classes that do not include source. The example environment uses Enhanced Class Decompiler 3.1.1.
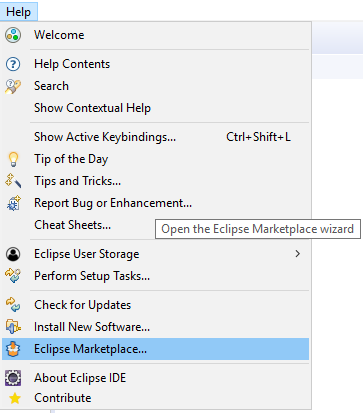
Open Help > Eclipse Marketplace.
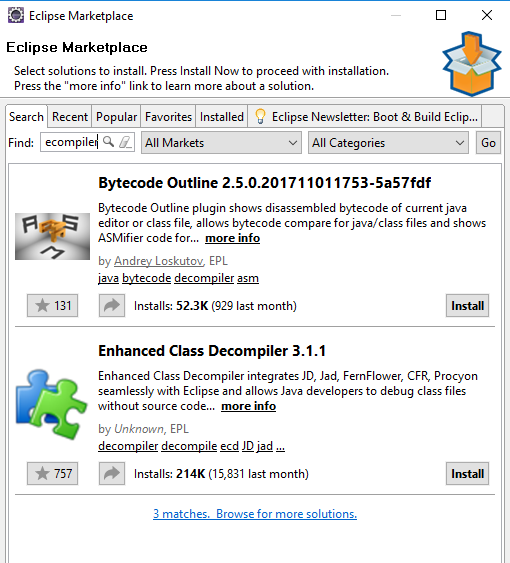
Search for Decompiler and select Enhanced Class Decompiler.
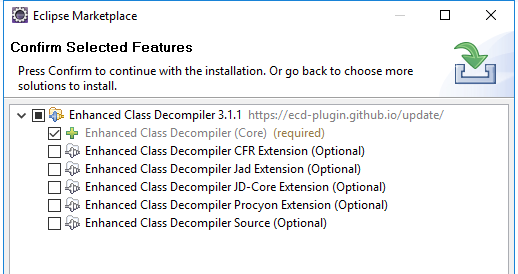
At the feature selection, keep the core decompiler and clear optional integrations you do not need.
The plugin displayed an unsigned-content warning during installation.
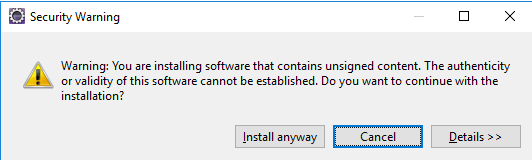
Only continue if the plugin package and publisher have been approved for the workstation. Restart Eclipse after installation.
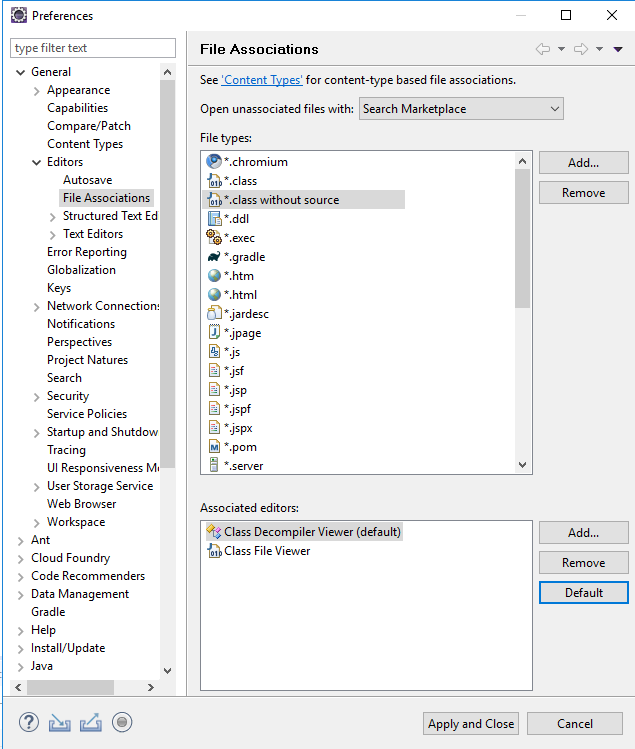
Open Window > Preferences > General > Editors > File Associations, select Class File without Source, and make the class decompiler viewer its default editor.
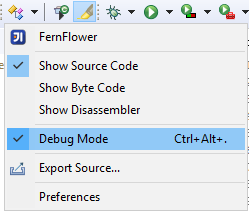
Enable the plugin's debug mode if you need its decompiled output to retain the original line numbers while stepping through a class.
Decompiled Maximo classes are useful for understanding the legacy implementation, but they are not a stable API contract.
Deploy the customization
The reference JAR only makes Eclipse compile. Deploy your own class files by placing them in the appropriate SMP customization path, rebuilding the Maximo EAR and deploying it through a controlled change. IBM's deployment guidance for Maximo Asset Management 7.6.1.2 documents the UpdateDB, EAR build and deployment sequence.