
Application Designer includes an Image control for adding a static image to an application. This is useful for a diagram, status key or other visual that is part of the interface rather than part of a Maximo record.
This is different from the Record Image control. A record image is uploaded and associated with a record; the Image control described here loads a file that you deploy with Maximo.
Deploy the image
Use a browser-friendly format such as PNG, JPEG or GIF. Give the file a useful name without spaces and optimise it before deployment. This example uses sad.png.
The destination depends on how Maximo is deployed.
Traditional Maximo Asset Management
For a static image shared by the application, place the file in the Maximo source tree at:
<MAXIMO_ROOT>\applications\maximo\maximouiweb\webmodule\webclient\imagesOlder installations also keep skin-specific images under paths such as:
<MAXIMO_ROOT>\applications\maximo\maximouiweb\webmodule\webclient\skins\tivoli13\images
<MAXIMO_ROOT>\applications\maximo\maximouiweb\webmodule\webclient\skins\tivoli09\images
Use a skin directory only when the image belongs to that skin or deliberately overrides a skin asset. A shared custom image normally belongs in the common webclient\images directory.
Add the file to the maintained Maximo source tree, rebuild maximo.ear and redeploy it. Do not copy it only into an expanded application-server directory: a later deployment can remove that copy. Keep the custom file in version control or your normal customization backup so it can be restored after an upgrade.
IBM's Maximo 7.5 Application Developer Guide documents the shared images directory and the need to rebuild and redeploy the EAR for a new image.
Maximo Manage in Maximo Application Suite
For containerized Maximo Manage, package the image in a customization archive at:
applications/maximo/maximouiweb/webclient/skins/mas8/images/Upload and activate the archive, then allow the workspace reconciliation to complete. Do not edit a running pod because the change will not survive reconciliation or replacement. IBM documents both the Manage image path and customization archive process.
Add the Image control
Open System Configuration > Platform Configuration > Application Designer, then open the application you want to change.
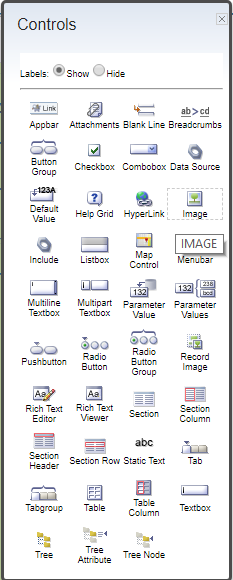
Open the Control Palette and drag an Image control into a suitable section.
Open the control's properties and enter the deployed filename, such as sad.png, in Filename.
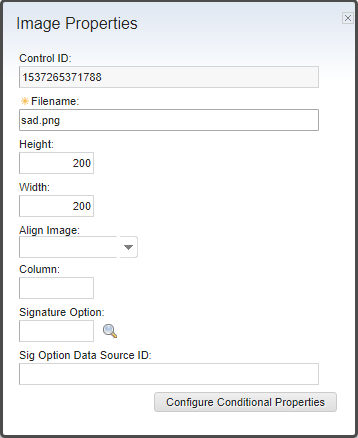
Set Alternate Text to describe the image's purpose. Leave the height and width empty when the original dimensions are suitable; forcing both values can distort the image. If the image conveys meaning, make sure the same information is available as text rather than relying on the image alone.
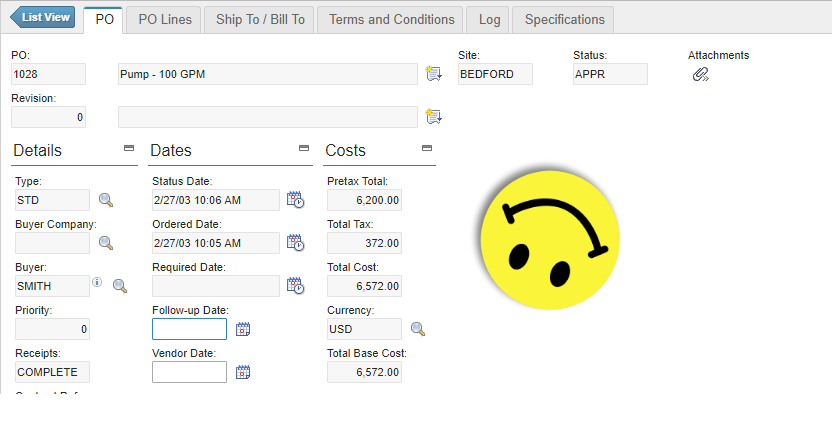
Save the application and reload it. The image should appear where you placed the control.
If it does not appear, confirm that the filename and case match, clear the browser cache and verify that the updated application reached every server in the cluster. A missing image response in the browser's network tools usually means the file was packaged in the wrong directory or an older EAR is still deployed.
When the image must change dynamically
The Image control can also be configured from application data, but that needs an attribute or signature option and is a separate customization pattern. Use the static approach here when every user should see the same deployed file in that location.